
People tend to have a love/hate relationship with gouache—mostly because it can be a temperamental medium. Personally. I love that about it…but only because I’ve spent a lot of time learning out how to work with it, not against it.
For me, gouache is like an old friend: we’ve already figured out each other’s quirks, and now we (mostly) get along. Every once in a while, goauche still throws me for a loop, but I’ve come to appreciate those moments. I think it keeps our relationship fresh and interesting.
To help you get to know my good friend gouache, I’m sharing some of the best practices I’ve learned over the years. Once you understand a few core principles, gouache becomes a whole lot easier to work with. And hopefully, with a little luck, you’ll learn to love it as much as I do.
Best Practice: Layer Light To Opaque
One of gouache’s most interesting (and occasionally annoying) characteristics is that it’s easily reconstituted with water. That’s great for fixing mistakes, but changes how you need to approach working with layers.
The Golden Rule For Layering: never add a transparent layer on top of an opaque one. And by transparent layer, I mean anything thin and watery. All you’ll end up doing is creating mud.
Instead, be mindful on how you build your painting:
Start with your most transparent layer.
Add more opaque layers as you build.
Let each layer fully dry before adding another.
When you’re ready to add details, make sure your paint is that heavy cream consistency I always talk about. If it’s too wet, you run the risk of reactivating the bottom layer and making mud.

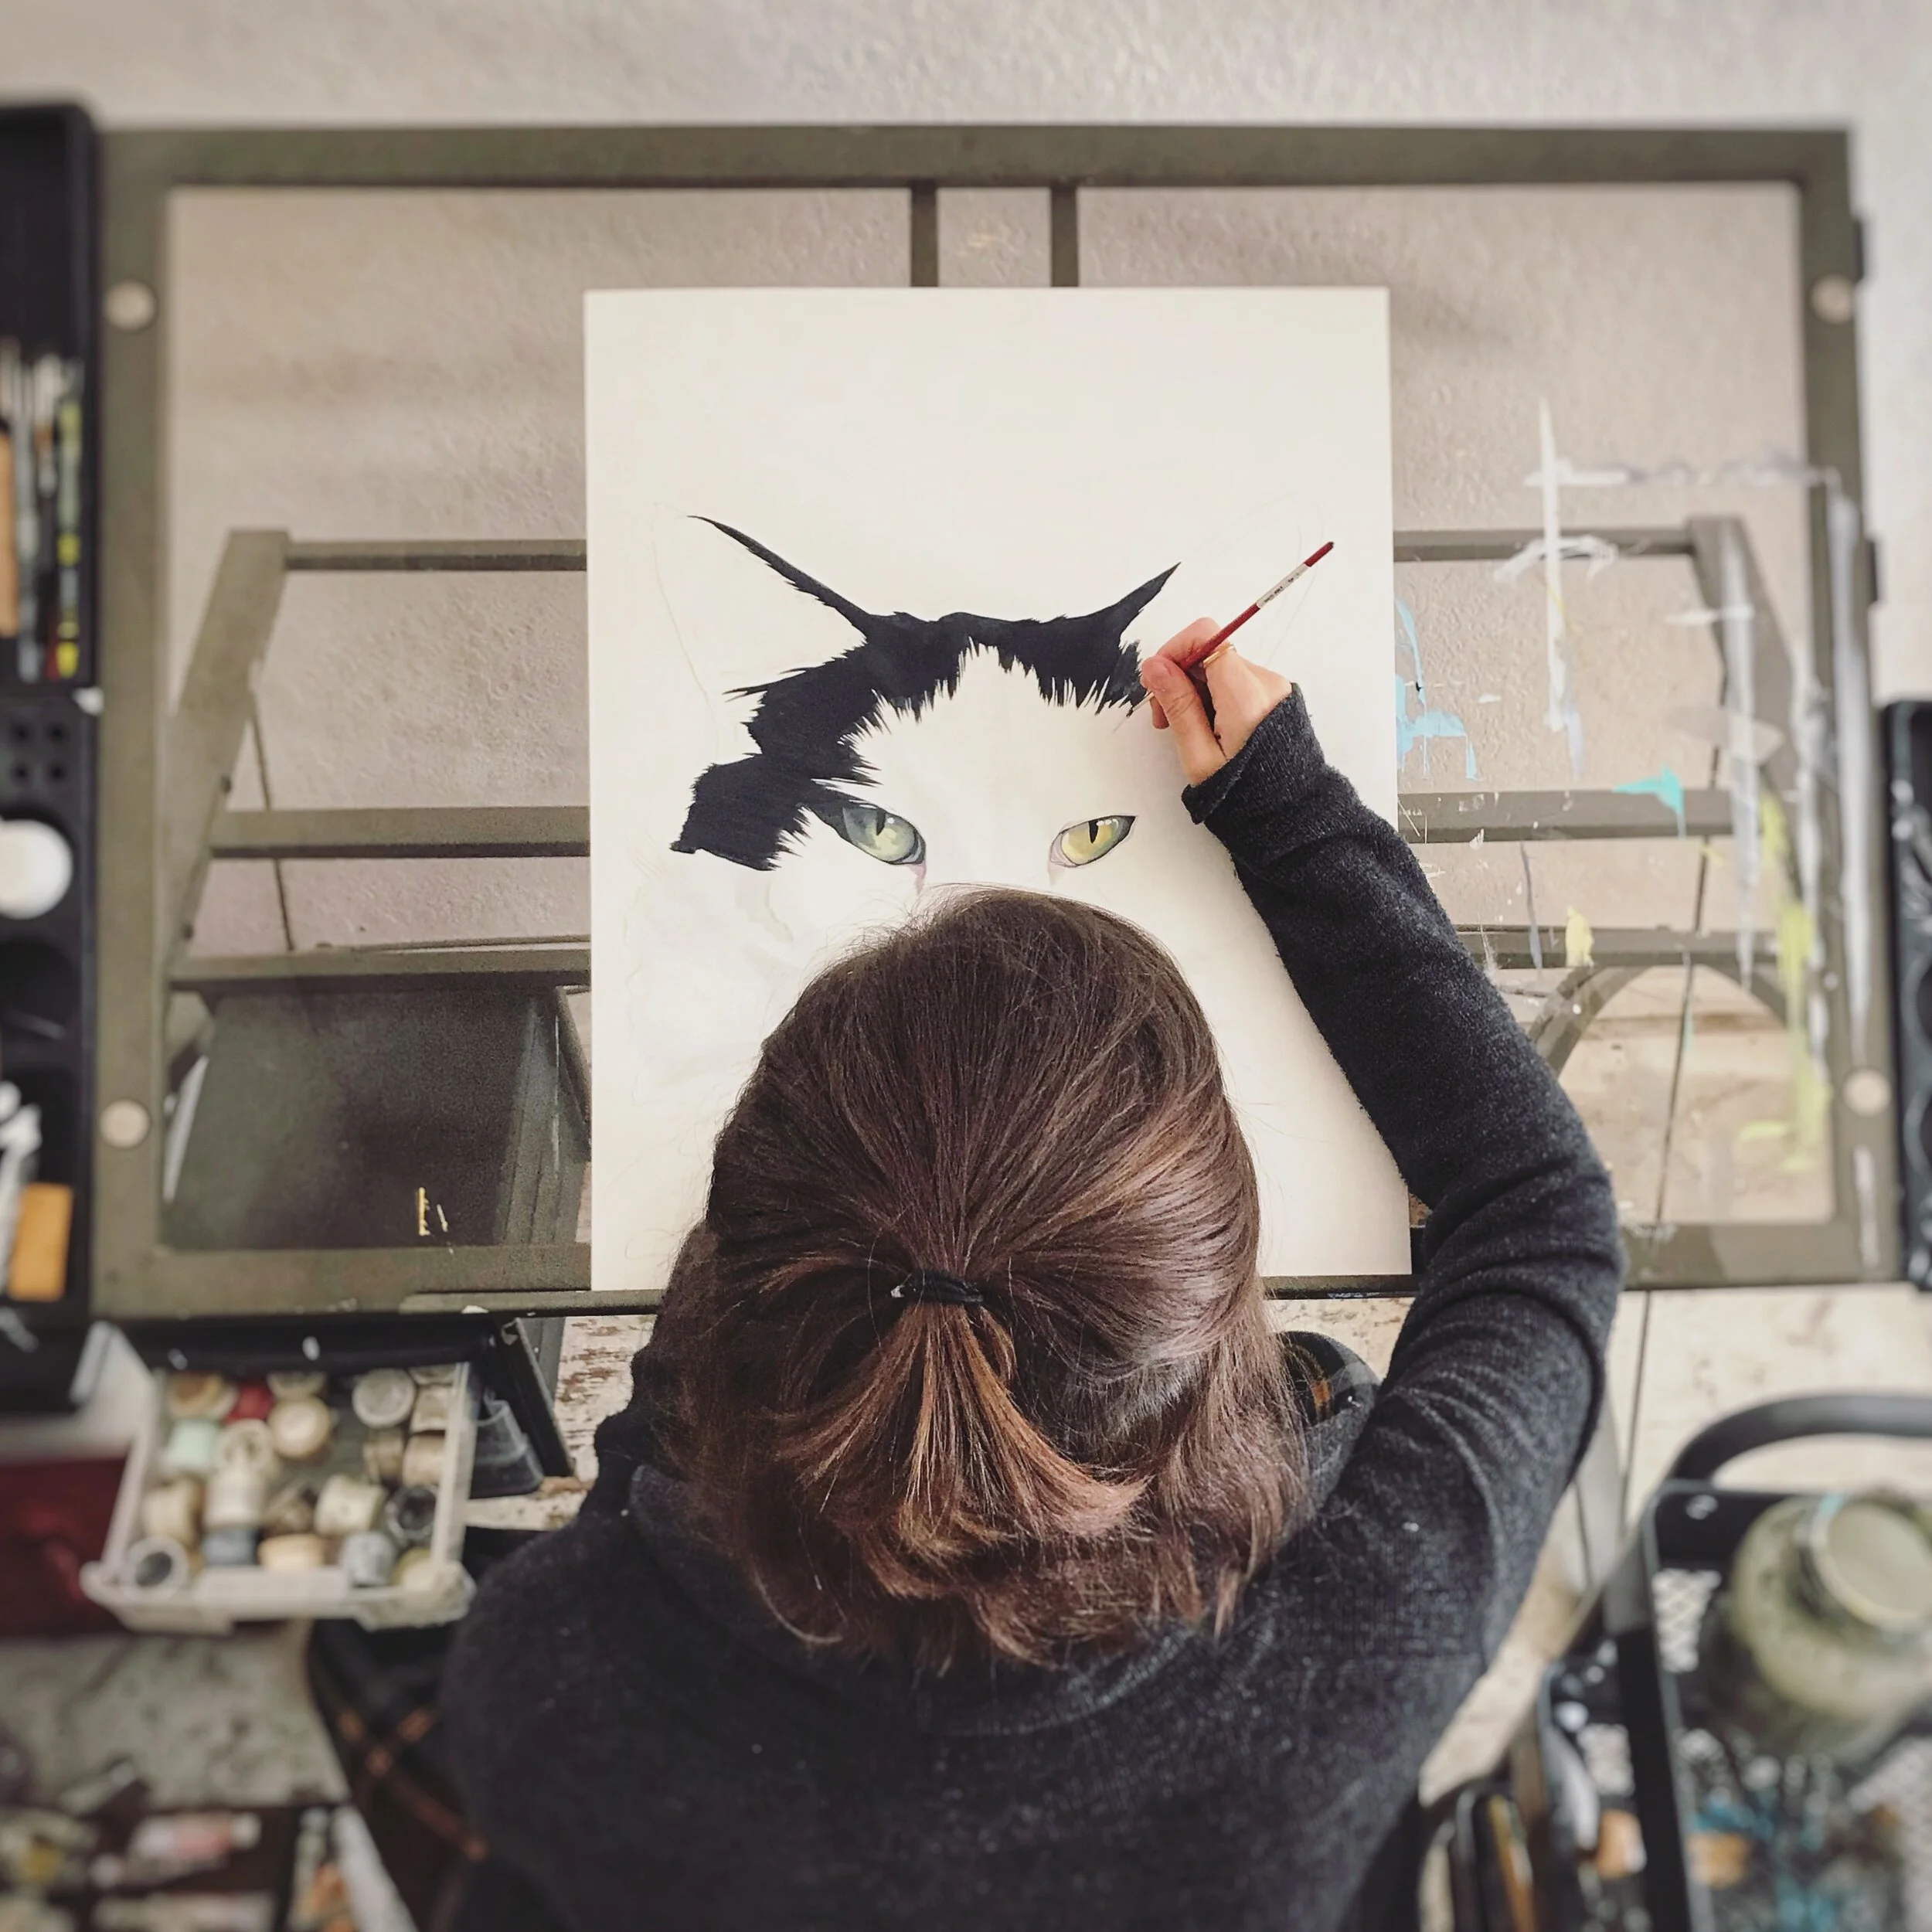
I made sure my bottom layers were completely dry before I started going in with my detail work. This protects those bottom layers from reconstituting and allows me to work without worry.
Best Practice: Be Patient With Dry Time
You can absolutely use other media on top of gouache— pencil, ink, colored pencil, pastel—but your gouache layer needs to be completely dry first. If it’s a thin layer, it should only take a few minutes. But for thicker layers, it may take long—sometimes even overnight. I’ve learned that just because paper looks dry, it doesn’t mean it is dry. If it feels cool or damp to the touch, it can affect how your gouache interacts with whatever you layer on top.Trust your fingers and not your eyes here.
Best Practice: Don’t Go Too Thick
Gouache is not the medium for thick layers. Save the impasto look for oils or acrylics! If you lay gouache on too thick, it’s likely to crack and flake off once it dries. And trust me, no one wants to finish a painting only to watch it slowly disintegrate days later. It’s a devastating feeling and unfortunately not fixable. (Been there. Tried to fix. Failed. #whygodwhy)
Best Practice: Add Details On Last
As a general rule, always add your subject details at the very end. This includes highlights, textures, facial features, etc. Basically, anything small and intricate.
However, backgrounds are an exception. Because a lot of my work has basic, flat backgrounds I usually paint mine on last so nothing accidentally happens while I’m working on the rest of the painting. Fixing a flat background color is nearly impossible without starting over because you can’t let layers get too thick. (See above.)
If you decide to put on a flat background always do it last! If you put it on first and accidentally mess it up by dropping paint or worse, it’s almost impossible to fix.
Best Practice: Don’t Overwork It
Try not to fixate on an area and overwork it—you do not want a mud situation on your hands. Instead, take a step back and see if some distance gives you a fresh perspective. Sometimes, what first seems like a terrible mistake isn’t that bad. Sometimes, it even works out in your favor!
If after some distance it’s still an issue, you can try erasing the area. Add a little bit of water to a clean brush and lift off the offending paint with a rag or paper towel. It won’t be perfect, but it gives you a second chance. Just make sure the area you ‘erased’ is completely dry before repainting. If not, it will bleed and you’ll be back at square one
Best Practice: Use Clean Water (Seriously)
This might sound obvious, but it’s never a good idea to paint with dirty water. Clean your paint water regularly to make sure tinted water doesn't accidentally affect colors you’re working with. This is especially devastating when you’re mixing light shades and your paint water is dark! It can and will turn your beautiful white paint into a strange color that you can’t use.
Best Practice: Clean Your Brushes Thoroughly
I can’t tell you how many times I’ve been mixing colors and thought I picked up a clean brush, only to find that it’s got avocado green lurking in the bristles. Nothing like mixing up a beautiful marigold just to have it ruined by sneaky green paint. Needless to say, these days I’m much more diligent about washing my brushes thoroughly. Also, checking them. Twice. Just in case.
Best Practice: Pre-Mix Your Colors
I like to mix variants of the colors I plan to use in separate containers before I start painting. This streamlines my painting process because I’m not mixing as I go.
Best Practice: Use Synthetic Brushes
While natural hair brushes are amazing for watercolor thanks to their water-holding abilities, they’re not ideal for gouache. They simply hold too much water and make it harder to control your paints consistency. I’m not saying it’s an impossible task, but what I am saying is that I’ve spent a lot of money on natural hair brushes only to find out that I prefer synthetic ones that are a fraction of the cost.
Best Practice: Choose Thick Paper
Thicker paper is best for layering because it helps prevent buckling. I don’t work with anything under 200 gsm and I’m currently using 350 gsm. It holds up beautifully even when I’m hard on it.
Best Practice: Swatch First, Always
I’ve said it before, but I’m going to say it again: gouache dries differently than other paints. Lighter colors always dry darker, and darker colors always dry lighter. Always make swatches before committing to anything.
I hope these best practices help you avoid some of the more frustrating aspects of working with gouache. The best way to learn is by doing, but these tips give you a chance to sidestep some frustrating setbacks so you can worry about crafting a great piece of art instead! Did I miss any other best practices that you think I should know about? Please share in the comments below. I’m always on the lookout for tips, tricks, and timesavers.
x
Manda